

Top 12 Tips to Optimise Your Sonos Soundbar: Sonos Ray, Beam (Gen 2), Arc and Arc Ultra
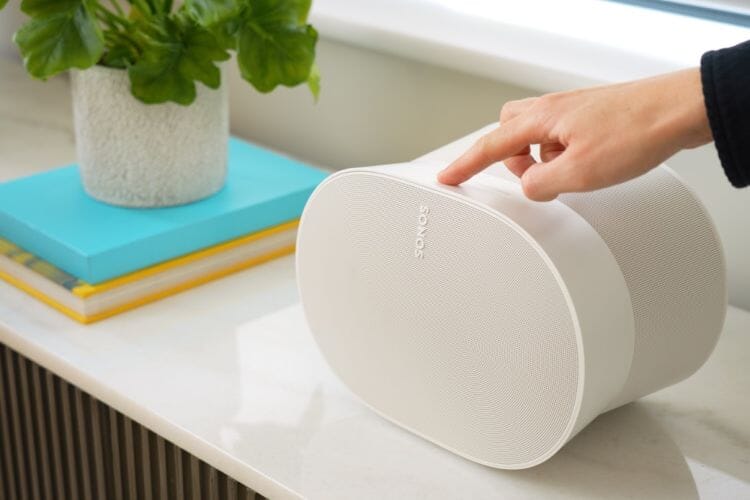
Sonos really does have one of the best soundbar lineups out there! Whether you’ve gone for the compact Sonos Ray, the versatile Sonos Beam (Gen 2), or the flagship Sonos Arc Ultra, you’re in for a serious upgrade to your TV, music, and gaming setup. With room-filling sound, easy multi-room features, and even Dolby Atmos support on the Beam and Arc Ultra, any of these soundbars will make a brilliant addition to your home.
But hey, there’s always room for improvement! That’s why we’ve put together 12 Sonos soundbar tips and tricks to help you get the absolute best out of your Sonos soundbar. From maximising performance to fine-tuning your home cinema setup, these pointers will make sure you’re never left wishing for more from your audio system.
Even without Dolby Atmos or HDMI, there are still plenty of ways to enhance your listening experience. And if you're using the original Sonos Arc, many of these tips will work perfectly for you too, keeping your setup sounding great!
Rather watch a video? Check out our expert tech guide Lui's tips over on our YouTube Channel 👇
1. Trueplay Tuning Calibration

Without a doubt, Sonos’ room calibration software, Trueplay Tuning, remains one of the easiest and most effective ways to instantly boost your Sonos soundbar's performance.
While it’s not exactly a hidden feature, some users skip the setup process to save time. Trueplay uses your phone’s microphones to fine-tune your soundbar’s audio output to match your room’s specific layout. And yes, you might feel a bit silly waving your phone around the room, but trust us, the enhanced audio quality is well worth it!
We recommend re-running Trueplay every 6 months or so, especially if you’ve moved furniture or made other changes to your room, as these can affect sound performance.
A Few Top Tips For Getting The Most Out Of Trueplay Tuning
- Minimise Background Noise: Turn off any fans, TVs, or talking in the room
- Cover Your Space: Move around as much of your room as possible during the tuning process.
- Don't adjust the volume. The test tones can get quite loud but resist the urge to turn it down to ensure accurate results.
Compatibility:
Advanced Trueplay: Available only on iOS devices for all Sonos soundbars, including Ray, Beam (Gen 2), Arc, and Arc Ultra. This uses your device’s microphone for precise room calibration.
Quick Tuning: Available on both iOS and Android for models with built-in microphones, including the Sonos Arc Ultra and Era series. This feature offers a simpler, faster room calibration using the soundbar’s own mics.
So, whether you’re an iOS or Android user, there’s now a convenient way to optimise your Sonos soundbar and enjoy the best sound possible!
2. Enhance Vocals Using Speech Enhancement

Make dialogue clearer and easier to follow by turning on Speech Enhancement in the Sonos app. This feature is perfect for catching every word, especially when watching at lower volumes late at night.
How to Turn On Speech Enhancement (iOS & Android):
- Open the Sonos app on your iOS or Android device.
- Tap the Settings icon.
- Select your Soundbar from the list of products.
- Under Home Theater, tap Speech Enhancement.
- Choose your desired level: Low, Medium, or High.
3. Optimise Performance For Evening Viewing With Night Mode

Watching late at night and worried about disturbing others in your home? Use the Night Mode feature to reduce the intensity of loud sounds from your Sonos soundbar and increase the volume of quieter sounds to keep the dialogue clear without having to turn up the volume.
How to Turn On Night Sound (iOS & Android):
- Turn on your TV and ensure the audio is playing through your Sonos soundbar.
- Open the Sonos app and tap the Now Playing bar at the bottom to access the Now Playing screen.
- Tap the moon icon to toggle Night Mode on or off.
4. Adjust The Height Channels (Sonos Beam Gen 2, Arc & Arc Ultra Only)

If you have a Sonos Beam (Gen 2), Sonos Arc or Sonos Arc Ultra then you can adjust the height channels in the Sonos app. Both are Dolby Atmos enabled soundbars but recreate 3D audio in slightly different ways. The Sonos Arc Ultra and Sonos Arc delivers height channels using dedicated up-firing drivers while the Sonos Beam (Gen 2) simulates height channels using psychoacoustics.
How to Adjust Height Channels:
- Open the Sonos app for iOS or Android.
- Go to the Settings menu
- Under My System, select the room with your Atmos-capable home theater product.
- Under Sound, select Height Audio.
- Use the slider to increase or decrease the volume of the height audio channels.
For Sonos Arc and Arc Ultra users, the effectiveness of height channels can be influenced by your ceiling's characteristics. Flat, low ceilings (8 to 9 feet high) are ideal for reflecting sound, while vaulted or high ceilings may require additional adjustments.
5. Unlock Immersive Audio with Dolby Atmos Content (Sonos Beam Gen 2, Arc & Arc Ultra Only)

Your Sonos Beam (Gen 2), Sonos Arc, and Sonos Arc Ultra soundbars will sound great across all content. However, to fully experience their immersive capabilities, it's essential to ensure you're accessing Dolby Atmos content.
Understanding Dolby Atmos Content:
Dolby Atmos is an advanced audio format that enables sound to be heard three-dimensionally. It adds height channels, allowing sounds to move around you in a three-dimensional space, making your entertainment more lifelike, placing you at the centre of it. Want the full explanation of what Dolby Atmos is all about? Check out our Dolby Atmos Explained guide to get the full lowdown.
How to Access Dolby Atmos on Your Sonos Soundbar:
- Check if your TV is Atmos compatible (you can normally see in the spec list for your TV). Any other device that “touches” the audio must also be able to pass Atmos content along (e.g. Apple TV, Blu-Ray player etc.)
- Check your connections. The Sonos Arc Ultra, Sonos Arc and Sonos Beam need to be connected via an HDMI cable (provided in the box) via an ARC or eARC port in your TV.
- Check your streaming app. If you are viewing content via a streaming service such as Netflix or Disney+, it must also be capable of playing Atmos content via your particular TV.
- Check your content. Any content you watch must have Atmos audio in a supported codec (Dolby Digital Plus, Dolby True HD, Dolby MAT)
💡 SHS Top Tip: Unsure if you're getting Dolby Atmos content? Check the now playing screen in the Sonos App and look for the Dolby Atmos logo.
6. Fine-Tune Your Sound with Adjustable EQ Settings

Did you know you can adjust the Bass, Treble, and Loudness settings on your Sonos soundbar? These EQ settings let you personalise the audio performance of your Sonos Ray, Sonos Beam (Gen 2), Sonos Arc, and Arc Ultra to suit your unique listening preferences.
Bass: Controls lower frequency sounds, perfect for enhancing deep notes like bass or kick drums.
Treble: Adjusts higher frequencies, bringing clarity to vocals and instruments like guitars.
Loudness: Boosts certain frequencies, including bass, at low volumes to maintain a rich sound even when you're keeping it quiet.
How to Adjust EQ Settings (iOS & Android)
- Open the Sonos App
- Go to Settings menu
- Choose a product the “Your System” section
- Drag the sliders to make adjustments.
On a Mac or PC
- Go to the Settings or Preferences menu.
- On a Mac, click the Sonos drop-down menu at the top left of the screen and select Preferences.
- On a PC, click the Manage drop-down menu at the top of the window and select Settings.
- Click EQ Settings, then select a room from the drop-down menu to adjust the equalization of your Sonos player.
7. Set A Volume Limit

Setting a Volume Limit on your Sonos soundbar is a great way to prevent the sound from getting too loud, perfect for shared spaces or when you want to avoid startling surprises!
When you set a volume limit, the Now Playing screen will still display a full volume slider, but it will cap the output based on your chosen limit. For example, if you set the limit to 50%, pushing the volume slider all the way to the right will only output 50% volume instead of 100%.
This setting also applies to alarms and line-in autoplay, keeping volume consistent across all audio sources.
How to Set a Volume Limit (iOS & Android)
- Go to the Settings menu
- Under My System, select the Sonos product you’d like to modify.
- Under Sound, select Volume Limit.
- Use the slider to set the maximum volume.
8. Turn off the Status Light and Touch Controls

If you find the status light distracting during movie nights or worry about little ones accidentally pausing your music, you’ll be pleased to know you can disable both the status light and touch controls on your Sonos soundbar.
To Disable:
- Open the Sonos app on iOS or Android
- Navigate to the Settings tab, tap System and select the product you would like to modify.
- Under Hardware, you can toggle Status Light and Touch Controls on/off
9. Optimise Your Setup with an Accessory

If you're looking to get the best performance from your Sonos Soundbar, optimising its placement can make a big difference! If you’re using a TV stand, positioning your soundbar directly under your TV is a great option. However, you can take things up a notch by adding a compatible accessory to enhance your setup further.
We offer a range of Sonos soundbar accessories from Sonos, Mountson, Flexson, and more. These include TV Mount attachments, Wall Mounts, and Cantilever Mounts, giving you flexibility in how you position your soundbar for the best audio experience.
Sonos Ray or Sonos Beam (Gen 2):
- Leave at least 1 inch (25mm) of space above the soundbar for easy access to touch controls.
- For optimal sound performance, ensure at least 1 foot (30cm) of space from either end of the soundbar to a wall or other obstruction.
Sonos Arc Ultra or Sonos Arc
- Maintain a 4 inch (102mm) gap between the soundbar and your TV to avoid blocking the upward-firing speakers
- Just like with the Beam or Ray, keep 1 foot (30cm) of clearance from the ends of the soundbar to any walls or obstructions.
10. Expand Your Sonos Home Cinema Setup
Sonos soundbars sound great on their own and even better as part of a surround sound bundle. Add a separate Sonos Subwoofer and/or Sonos Surround Sound Speakers to add punchy bass and immersive surround audio to your soundbar setup.

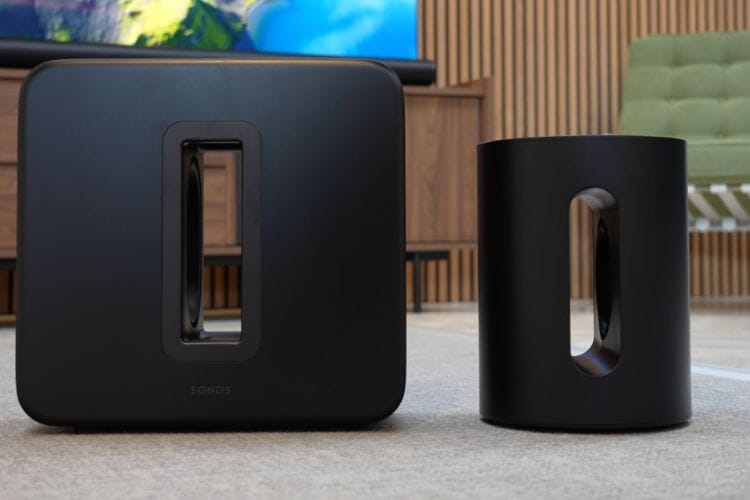
Adding A Sonos Subwoofer
Adding a Sonos subwoofer is a great way of levelling up your audio performance for TV, Music & Gaming by adding extra bass to your setup. Sonos have two subwoofer options, the Sonos Sub 4 and the Sonos Sub Mini. Both can be added to a Sonos Ray, Sonos Beam (Gen 2), Sonos Arc or Sonos Arc Ultra and offer simple, wireless connection.
Adding a Sonos subwoofer will also enhance the performance of your paired soundbar. By taking the load of the lower frequencies, connecting a Sonos sub frees up processing power for the connection Sonos soundbar to deliver enhanced performance on the other arrays.
| Sonos Sub Mini | Sonos Sub 4 |
| ✓ Best suited for small/medium spaces | ✓ Best suited for medium/large spaces |
| ✓ Compact yet punchy bass | ✓ Powerful bass |
| ✓ Low to moderate volume levels | ✓ High volume levels |
| ✓ Vertical orientation only | ✓ Vertical or horizontal orientation |
| ✓ One Sonos Sub Mini per pairing | ✓ Can be used in a dual Sonos Sub 4 setup |
Read our full comparison of the Sonos Sub 4 vs Sonos Sub Mini here

Adding Sonos Surround Sound Rears
Looking to take your home cinema setup to the next level? Adding a pair of Sonos speakers as rear surrounds can transform your listening experience, placing you right in the centre of the action.
When it comes to rear surround speakers, we generally recommend a pair of Sonos Era 100 speakers. As the successor to the Sonos One (Gen 2), the Era 100s are true all-rounders, delivering perfectly balanced and immersive audio that's great for any type of entertainment.
If you're looking to step up the immersion considerably, you could opt for a pair of Sonos Era 300 speakers instead. These are Dolby Atmos-enabled speakers and offer real overhead height channels, they are by far and away the most immersive rear surround option that Sonos has to offer and they make a killer combination when paired with the Sonos Arc Ultra especially.
For those with a larger, more open plan space or those looking for a powerful rear addition, you can choose a pair of Sonos Five speakers for your rear surround audio. These offer the most room-filling performance but also come with the most premium price tag too.
For more insights, check out our guides:
Our top 3 tips for adding Sonos Surround Sound speakers
Sonos Era 100 vs Sonos Era 300: Which Speaker is Best
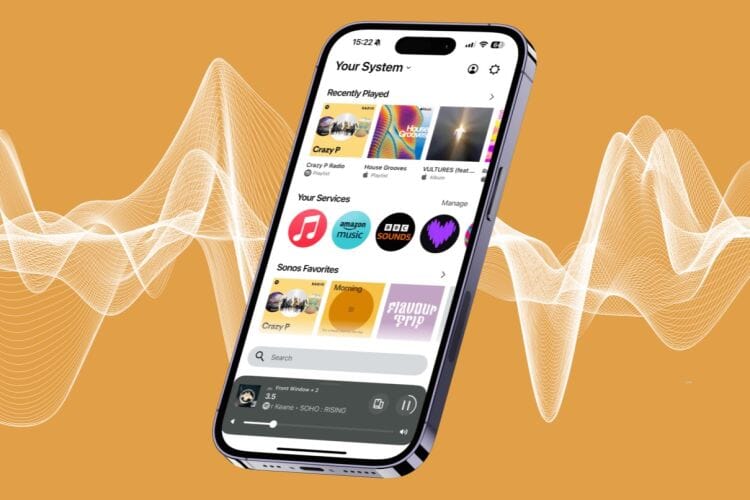
11. Customise the Sonos App for Quick Access to Your Favourites

The Sonos app isn't just a control hub, it’s a great tool to personalise your audio experience. By fully customising your app, you can make sure all your favourite content is just a tap away. Whether it’s music, playlists, radio stations, or even podcasts, you can organise everything for total convenience.
How to Add Favourites to your Home Screen:
While Browsing Music
- Select the More button net to any listed item, such as a song, album, or artist.
- Select Save to Sonos Favorites.
From the Now Playing screen
- While Sonos is playing audio, open the Now Playing screen.
- Select the More button, then select Save to Sonos Favourites
12. Go Hands-Free with Voice Control

The final step to completing your Sonos setup is to go fully hands-free! Adding a voice assistant to your system lets you control your soundbar with just your voice, perfect for adjusting volume, skipping tracks, or even setting a timer without lifting a finger.
Sonos Ray:
For the Sonos Ray, which doesn't have built-in microphones, you can still add voice control by pairing it with a compatible device like the Sonos Era 100 or Sonos Era 300.
Sonos Beam (Gen 2), Sonos Arc, Sonos Arc Ultra:
These models come with built-in microphones, so you can set up your preferred voice assistant directly through the Sonos app.
To use voice commands to control your Sonos system, you can select from one of the below in the Sonos app.
Sonos Voice Control - see how to setup here
Amazon Alexa - see how to setup here
Siri - see how to setup here.
Other Useful Content
Blog: The Best Sonos Speakers to Buy in 2025
Blog: Sonos Arc Ultra Review: The Dolby Atmos Soundbar To Beat?
Blog: Best Dolby Atmos Soundbars 2025: The Complete Buyer's Guide
For more information about Sonos or any other products, get in touch and one of our Tech Guides would be happy to help!
| info@smarthomesounds.co.uk | |
| Live Chat on our Website | |
| 0800 677 1100 |
Why buy from Smart Home Sounds? We offer Lowest Price Guarantee, Free Next Day Delivery* and 0% Finance Available. Looking for more personal advice? Contact our team of experts today. Shop Sonos